

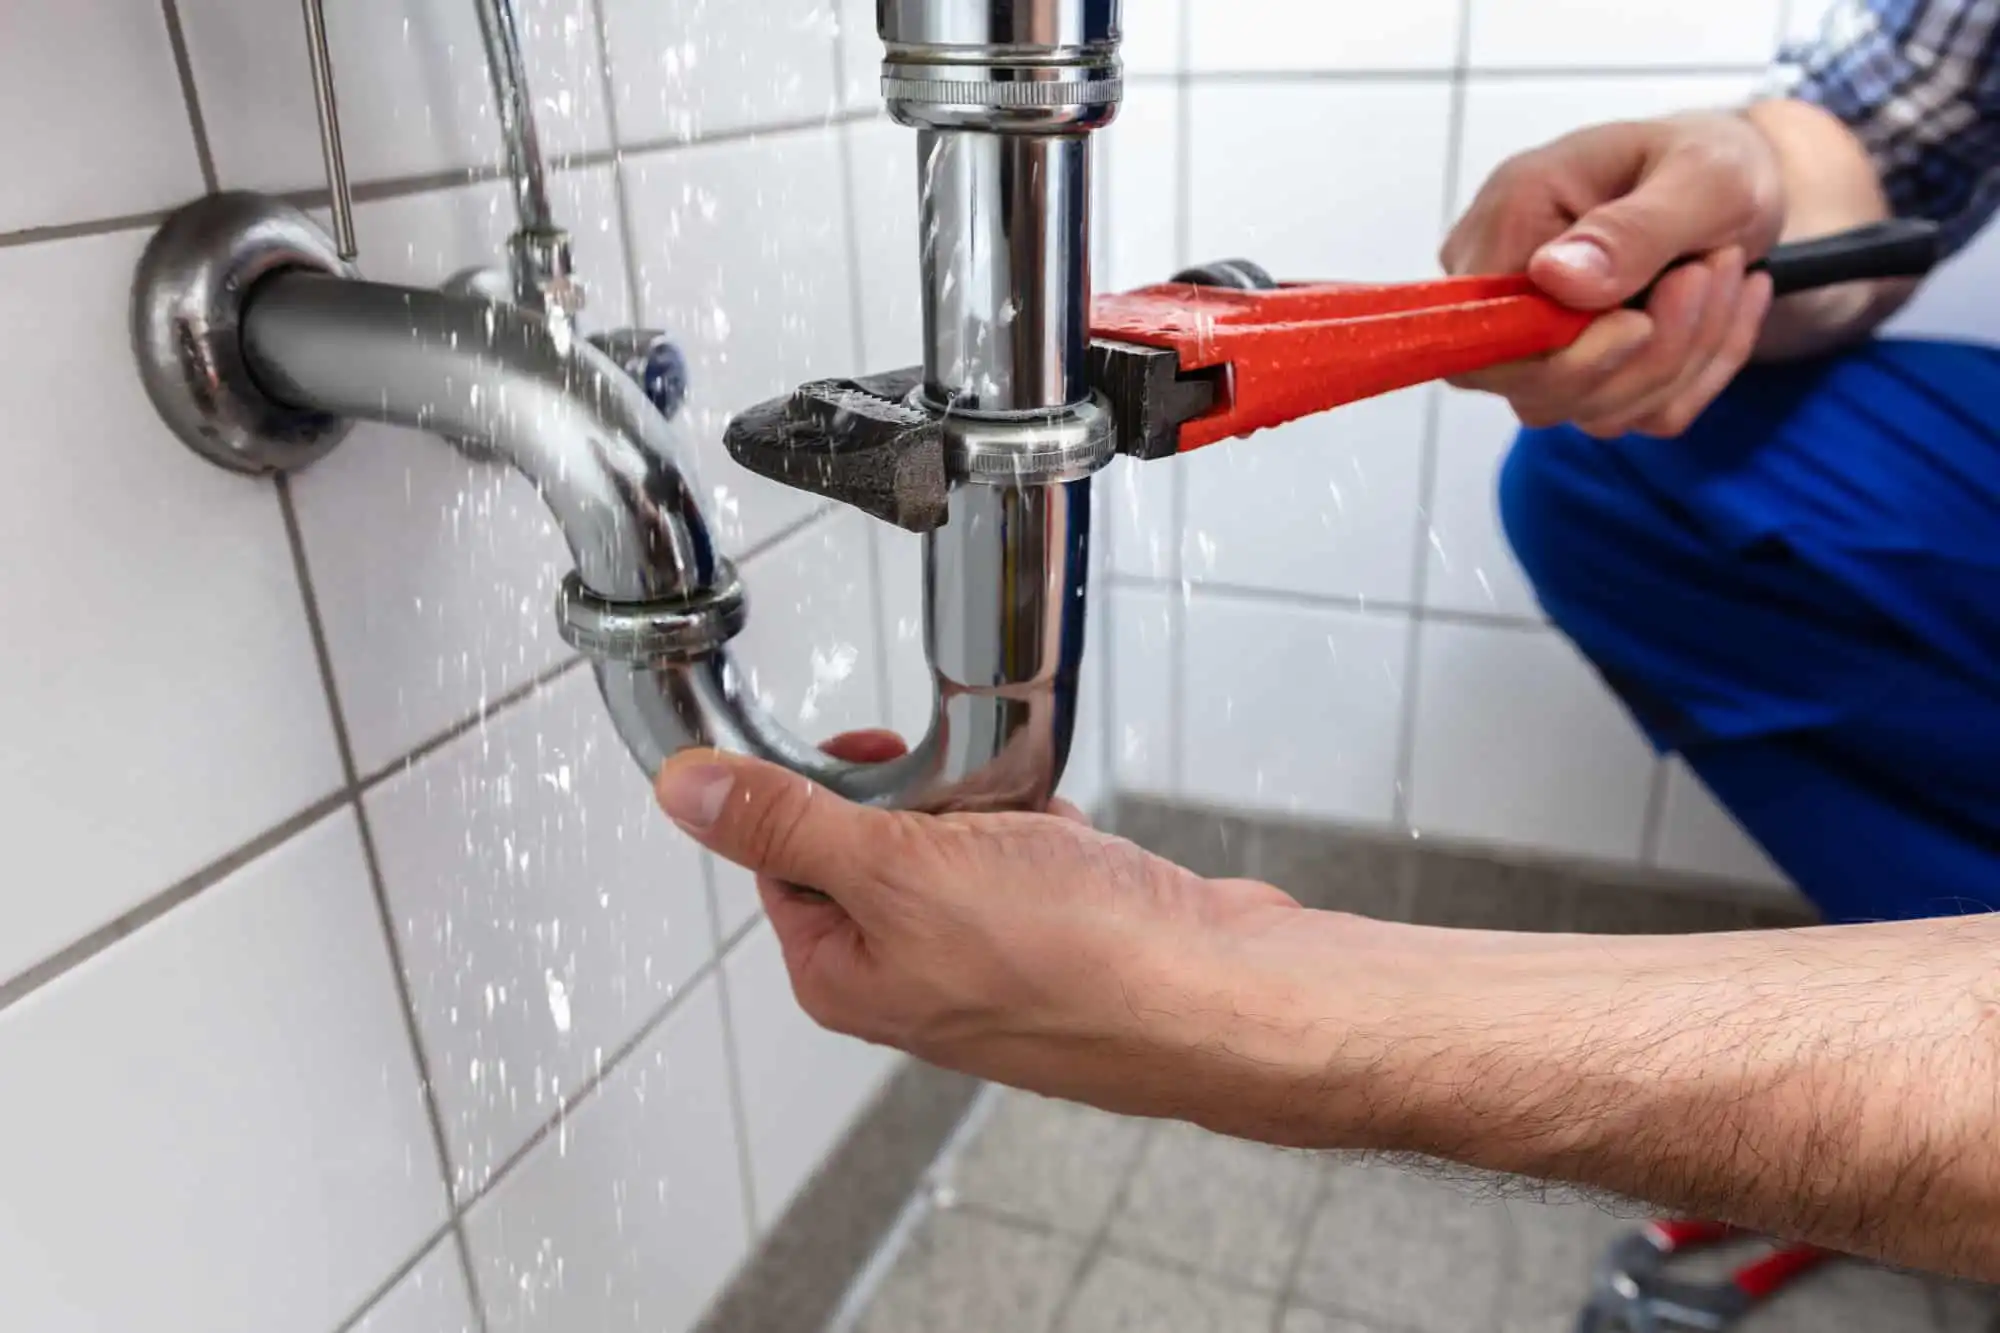
Replacing a garbage disposal is one of the most homeowner-friendly plumbing jobs in the house. If you can read a basic instruction sheet and own a pair of channel-lock pliers, you can do it in under an hour. The hard part is buying the right unit and avoiding the three or four mistakes that turn a 45-minute job into a Saturday project with a return trip to the hardware store.
Here is the walk-through we give San Diego homeowners who want to handle it themselves, and the warning signs that mean you should call a plumber instead.
Buy the matching mount type
The single most important compatibility check: your replacement disposal needs to use the same mounting system as the one coming out, or you will be replacing the sink flange as well. Almost all modern InSinkErator and Waste King residential units use a quick-mount system that is interchangeable across brands. Older disposals or specialty units use proprietary mounts. Take the brand and model of your existing unit to the store, or unbolt the old one first and bring the mounting ring with you.
Pick the right horsepower
For a single-family home with normal cooking and one or two people in the household, 1/2 HP is enough. For a four-plus person household or anyone who cooks regularly, step up to 3/4 HP. For garbage disposals that will handle rental property abuse, get a 3/4 or 1 HP commercial-grade unit — the extra cost pays for itself in fewer service calls.
Stay away from the cheapest 1/3 HP units. They jam constantly, the motors burn out within 3-4 years, and the cost difference to a midrange unit is $40-50. The EPA disposal guidance reminds homeowners that even a strong disposal does not change what should and should not be sent down a kitchen drain — fats, oils, and starchy peels still clog the line downstream.
Tools and supplies before you start
You will need: the new disposal, channel-lock pliers, a Phillips screwdriver, a flat screwdriver, a bucket to catch water, a flashlight, plumber putty (if the new sink flange does not come with a gasket), and a roll of paper towels. If your existing wiring is hardwired into the disposal rather than plugged into an outlet, you also need a wire nut kit and either a voltage tester or the comfort to verify the breaker is off.
The removal sequence
Turn off the breaker that feeds the disposal. Confirm with a voltage tester or by turning on the wall switch and verifying nothing happens. Place the bucket under the existing disposal. Disconnect the dishwasher inlet hose (small hose on the side of the unit). Disconnect the discharge tube (the larger pipe that exits the disposal toward the wall). Support the disposal with one hand and rotate the mounting ring counterclockwise to release the unit — it drops free.
Now unscrew the mounting assembly from the sink flange above. If you are reusing the existing flange, leave it alone. If the new unit ships with a new flange (most do), unscrew the old flange from the underside of the sink and clean the old putty or gasket residue off.
The install sequence
Apply plumber putty to the new sink flange and press it into the sink hole from above. From below, slide on the included backup ring, fiber gasket, and mounting ring. Tighten the three mounting screws evenly to draw the flange down and seat it. Wipe excess putty from above.
Connect the wiring on the new disposal (or attach the included power cord if you are plugging into an outlet). If the disposal will share a drain with a dishwasher, knock out the dishwasher plug on the disposal side fitting before installing — this is the single most-missed step. Forget it and your dishwasher will not drain.
Lift the disposal up to the mounting assembly and rotate it clockwise to lock. Reconnect the dishwasher hose and the discharge pipe. Restore power. Run water. Test.
When to call a plumber instead
If the existing wiring is corroded or has been spliced multiple times, hire an electrician or a plumber who handles disposal hookups. If the sink flange itself has corroded into place and cannot be removed without breaking, the job has expanded. If the dishwasher hose connection or the discharge pipe alignment is off — your new disposal sits higher or lower than the old one and the drain trap geometry no longer works — a plumber can re-trim the drain in 30 minutes that would take you a Saturday.
For most other furniture-and-trim adjustments around a disposal swap, a competent handyman is usually a better fit than a plumber. General handyman support for kitchen and bath projects handles the cabinet trim work, drawer adjustment, and finish carpentry that often shows up after a disposal change but is outside a plumber scope.
For new homeowners
If you have just moved into a home and the disposal looks original — gray bottom, dented sides, unusual brand — replace it preventively before it fails on a holiday. The same logic applies to garage door springs, water heater anodes, and any other appliance with a known failure curve.
Your San Diego Garbage Disposal Specialists
At Drain Masters Plumbing, we install garbage disposals across San Diego County — Chula Vista, La Mesa, El Cajon, Santee, Spring Valley, Lemon Grove, Lakeside, La Jolla, Del Mar, Carlsbad, Oceanside, Poway, and the surrounding communities. If your DIY install stalls or you want to skip the trip to the hardware store, contact us for a same-day quote and install. Our plumbing services cover the full San Diego region 24/7.