

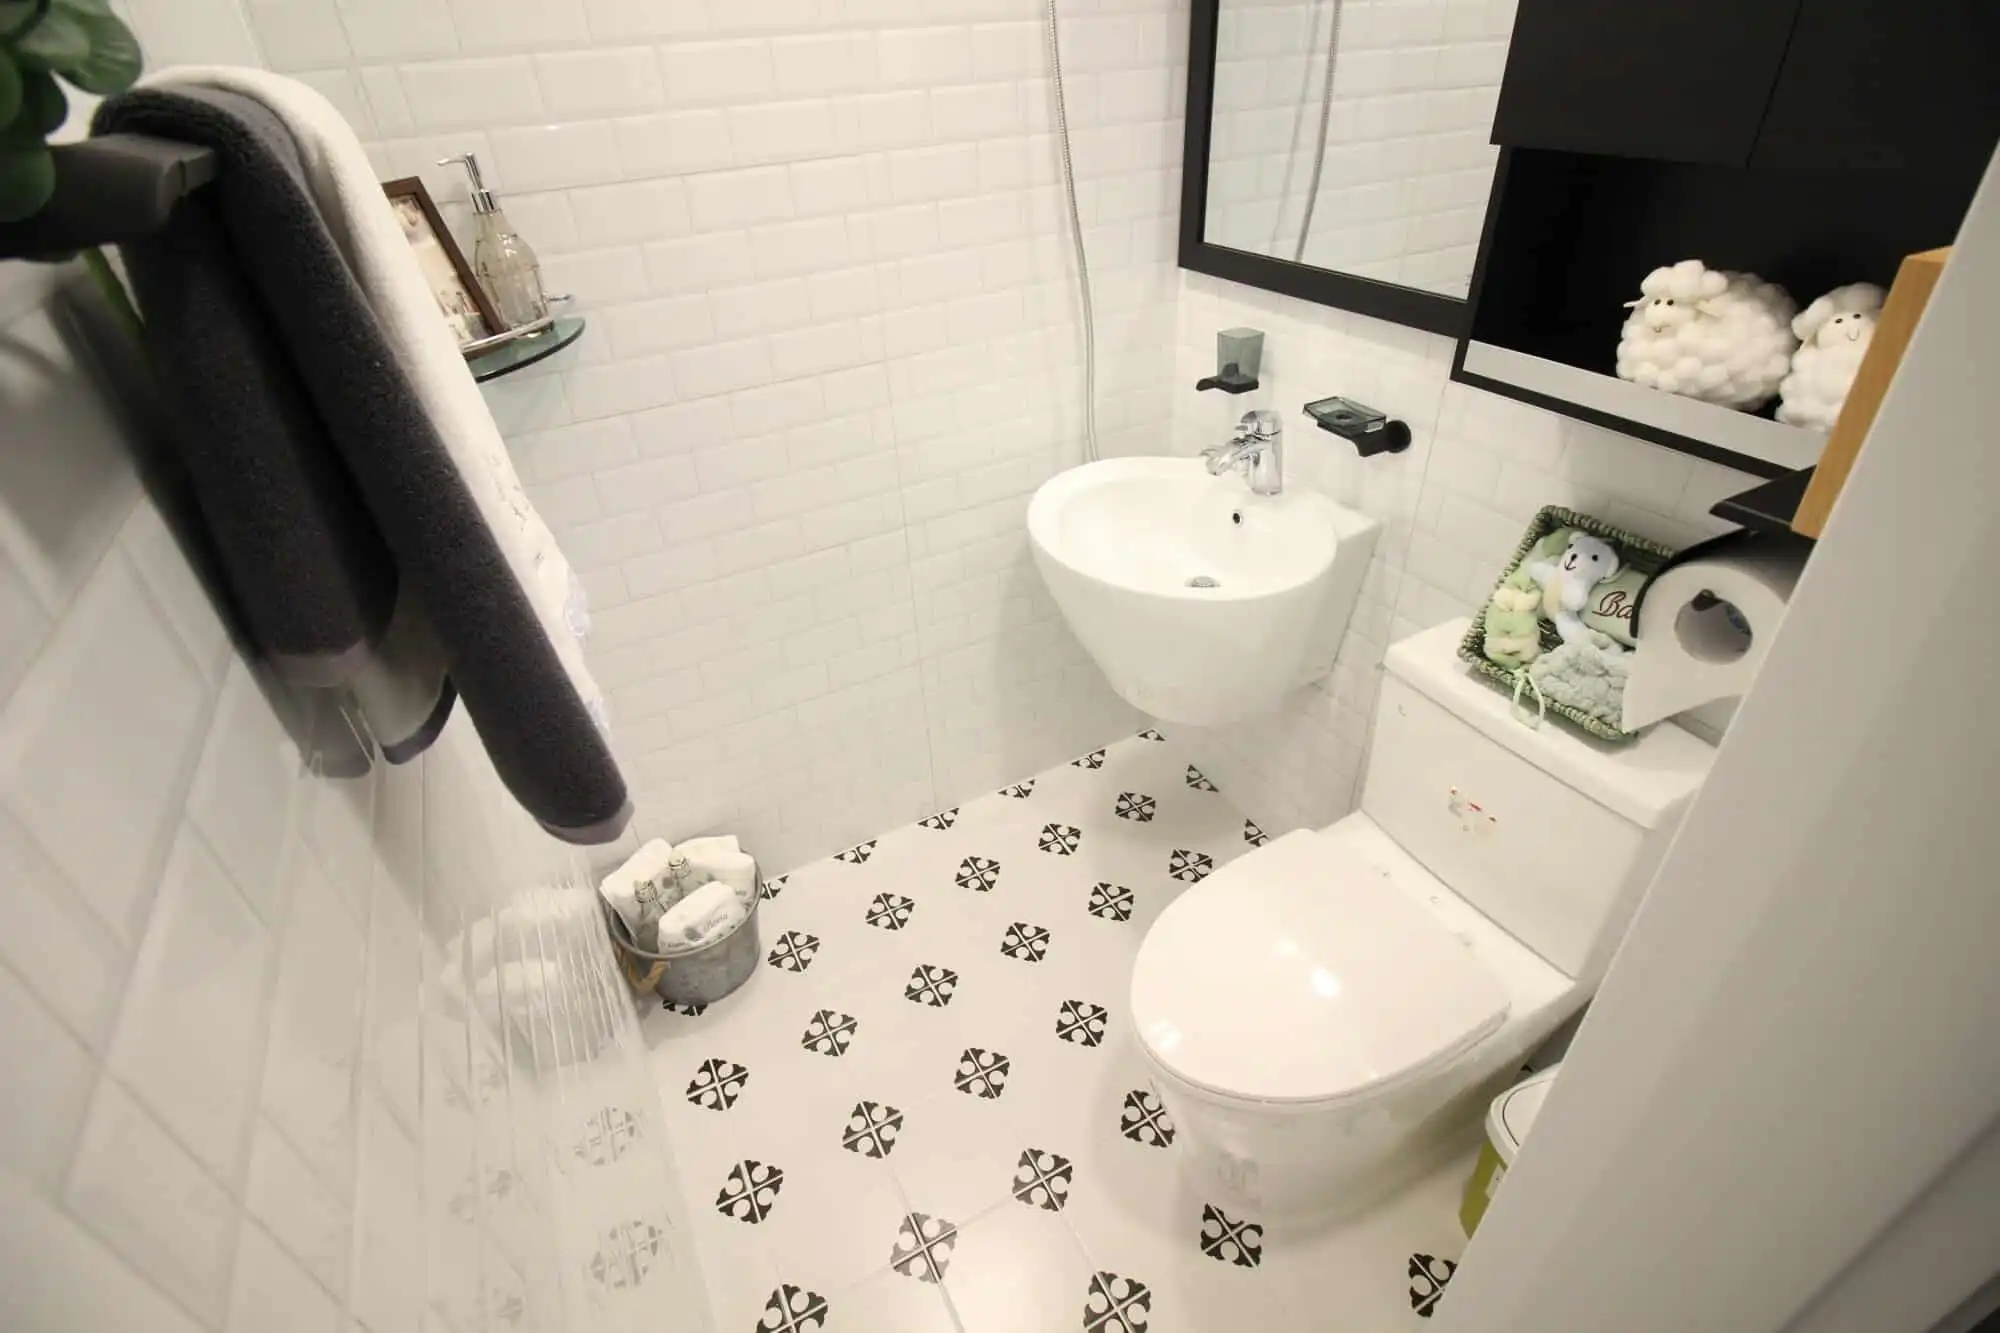
The plumbing decisions you make during a bathroom remodel determine whether the new space is a dream or a recurring headache. We have walked into beautifully tiled San Diego bathrooms that were six months old and already had drain smell, low water pressure in the new shower, or a toilet that ran constantly because the rough-in dimensions never quite worked. Most of those problems trace back to one or two skipped conversations at the planning stage.
Here is what to settle before the demo starts, and where to spend money on plumbing that will outlast the tile.
Move fixtures only when there is a real reason
Moving a toilet six inches to the left because it looks better on a rendering can add $1,500-3,000 to a remodel. The actual reroute is straightforward, but the new closet flange position has to land between joists, the new drain has to maintain code-required slope back to the main, and any change to the vent has to be tied back in. None of that is impossible, just expensive.
The cheapest remodels keep the toilet, shower drain, and vanity drain locations where they already are. Move only when the existing layout actively wastes space or violates accessibility goals. If you are determined to move a fixture, plan it during the design phase so the plumber sees the new rough-in dimensions before they cut the floor.
Decide on water pressure goals up front
A modern rain head, body sprays, and a hand-held wand on the same shower will starve each other if the supply lines feeding the wall are still 1/2-inch copper from 1978. Upgrade to 3/4-inch trunks and 1/2-inch branches at minimum, and consider a pressure-balanced or thermostatic valve sized for the total flow demand.
If the rest of the house runs on 1/2-inch supply throughout, the bathroom shower will fight every other fixture for pressure when someone flushes a toilet or starts the dishwasher. The fix is sometimes as simple as upsizing the trunk line back to the main. Sometimes it requires a pressure-boosting pump. The plumber needs to know the answer before the walls close up.
Specify the shower drain correctly
Linear drains and large square drains are popular and look great, but they change the slope geometry of the shower floor. The CDC’s guidance on water-system safety highlights why slow-draining or pooling shower areas are a longer-term concern — standing water in any plumbing fixture creates conditions for biofilm growth. Specify a slope of at least 1/4 inch per foot toward the drain regardless of drain style, and confirm the contractor’s mock-up before the mortar bed gets installed.
For curbless walk-in showers, the drain and slope work has to be coordinated with the waterproofing membrane, the threshold transition, and the bathroom floor outside the shower. This is where most “shower-floods-the-bathroom” calls originate — the geometry was wrong from the start.
Get the glass right
Shower enclosures are a finish item, but the wall framing and curb need to be ready before the glass installer measures. Frameless glass requires solid blocking behind the tile wherever the hinges or clips will land. Pivot doors need a curb that is dead level. Sliding bypass doors need adequate width and a track that drains properly. Specialized custom shower enclosure design and installation services bring the measuring expertise that turns a good shower into a great one.
Vanity and toilet rough-in measurements
Wall-hung vanities require carrier brackets that mount to studs or solid blocking. Plan the rough-in plumbing to land within the cavity the vanity will use. Wall-hung toilets need a carrier inside the wall that has to be installed and tied into the drain at the same time as the framing — too late after drywall.
For a standard floor-mount toilet, the rough-in is 12 inches from the finished wall to the center of the toilet flange. Older San Diego homes sometimes have 10-inch or 14-inch rough-ins, and you need to either specify a toilet that matches or move the rough-in.
Coordinate trades — do not let plumbing finish last
The most common scheduling mistake is having the plumber set fixtures after the tile is done. A trim plumber needs floor and wall heights to be exact, and tile that wandered a quarter inch off level will leave a vanity faucet handle hitting the backsplash. The fix is to walk the rough-in with the plumber before the tile starts, then again after tile and before fixture setting.
For larger remodels where you are also moving walls, relocating HVAC, or doing structural changes, work with a general contractor who manages all trades on a coordinated schedule.
What to spend extra on
Shut-off valves at every fixture. Quarter-turn brass valves last decades and let you isolate any fixture without shutting down the house. A pressure regulator on the main if you do not have one — the static pressure in many San Diego neighborhoods runs 75-90 PSI, well above the 60 PSI most fixtures are rated for. A water-hammer arrestor where any high-flow valve closes quickly (washing machines, ice makers). And honest-to-goodness brass under all the chrome — plated zinc fails inside five years in our humidity.
Your San Diego Bathroom Remodel Plumbing Specialists
At Drain Masters Plumbing, we work the plumbing scope on bathroom remodels throughout San Diego County — Chula Vista, La Mesa, El Cajon, Santee, Spring Valley, Lemon Grove, Lakeside, La Jolla, Del Mar, Carlsbad, and the surrounding communities. We will walk through your design before demo, give you a clean rough-in plan, and coordinate with your contractor and tile setter so trim-out goes smoothly. Contact us early in your remodel planning. Our remodel plumbing services cover the full San Diego region.