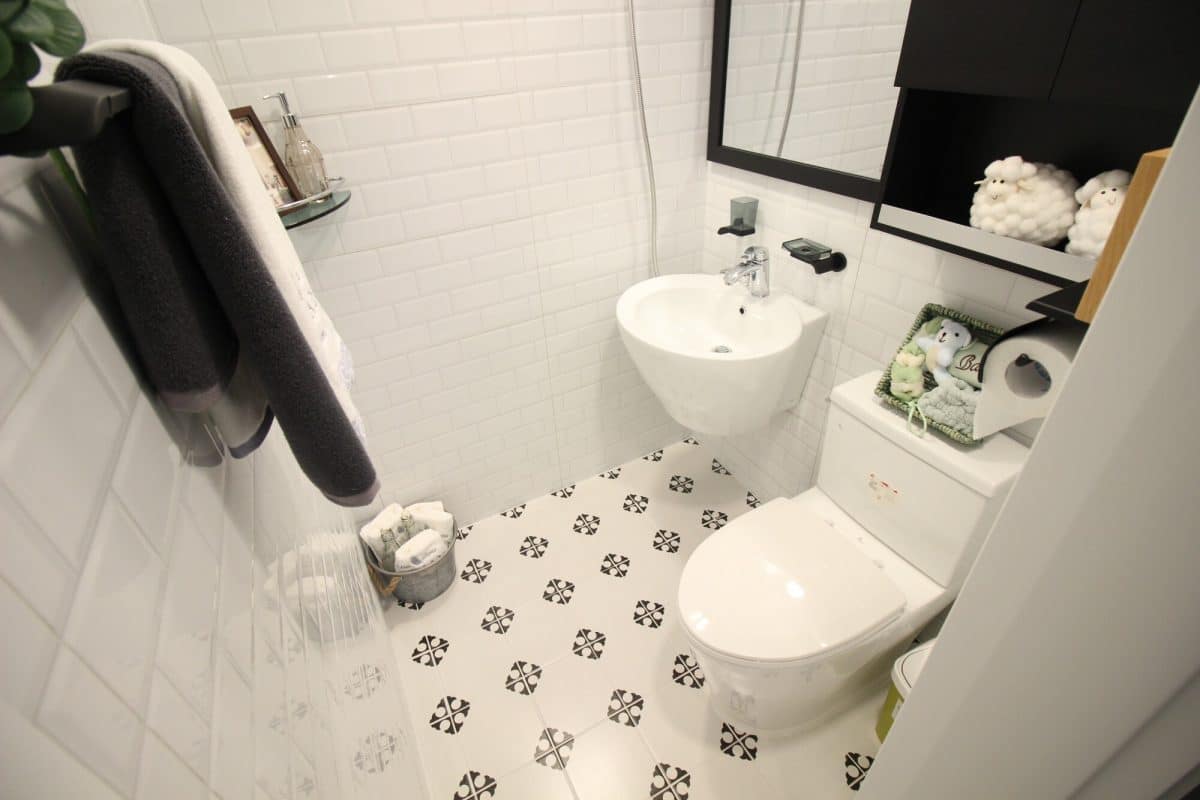
Since water in San Diego is so expensive, any increase in water bills can be daunting. One particularly common cause of high bills is a leaky toilet.
Most toilet leaks are repairable, but exceptions do exist. If you see any cracks in the bowl or tank, replacement is your best bet. Even if there are no cracks, you may simply want to install a more efficient system.
Not sure how to install a new toilet? Our toilet installation guide below will help you ensure you don’t make any obvious errors!
Confirm the Flange Height
The first step of toilet replacement is checking the flange height. Ideally, the flange would be 1/4 inch above the floor. That allows you to use most types of wax rings while still ensuring a proper seal.
If you don’t have the necessary clearance, install a flange extender. These extension kits allow you to raise the flange height by 1/2 to 1/4 inch. If the flange is below the floor level, look for kits that include long bolts.
Secure the Closet Bolts
The purpose of closet bolts is to anchor the base of the toilet to the flange. They need to stick straight up from the flange. If they slip while you’re aligning the bowl, you risk crushing the wax ring.
To avoid slippage, use a nut and washer to lock down the closet bolts to the flange. On top of securing the bolts, this will make it much easier to remove them in the future.
Install the Wax Ring
When you’re choosing a wax ring, opt for one with a polyethylene sleeve. These provide a good seal and fit most standard toilet drains. Never install more than one wax ring, as this usually leads to water leakage.
Install the wax ring by placing it on the flange, not the toilet. Then, pick up the toilet bowl, set it on the closet bolts, and push it straight down. Keep squishing the wax ring until the toilet settles to the floor.
Level the Toilet
Before bolting the toilet down, ensure that the base is stable. You can do that by carefully rocking it back to front and from side to side. If the toilet isn’t sitting completely flat, it’s more likely to leak in the long run.
The solution for a rocking toilet: add toilet shims between the floor and the base. The number and placement of shims will depend on the toilet. Shimming the toilet before bolting will ensure it won’t come loose.
Caulk the Toilet Base
Finally, you’ll want to add silicone caulk around the base of the toilet. Caulking provides added protection against movement. Plus, it prevents dust from getting under the toilet, where you can’t clean it.
Consider leaving the back end of the toilet base uncaulked. That way, if the toilet ends up leaking, the water will flow out on the floor. That allows you to react before the leak causes damage to the subfloor.
More on Toilet Installation
Whether you’re replacing a toilet or resetting an existing one, toilet installation makes for a fun DIY project. That said, you’ll need a variety of materials and a bit of patience to do the job right.
Want to ensure you’ll avoid toilet plumbing issues in the future? Have professionals install your toilet for you! If you live in the San Diego area, contact us here to learn about our services.

